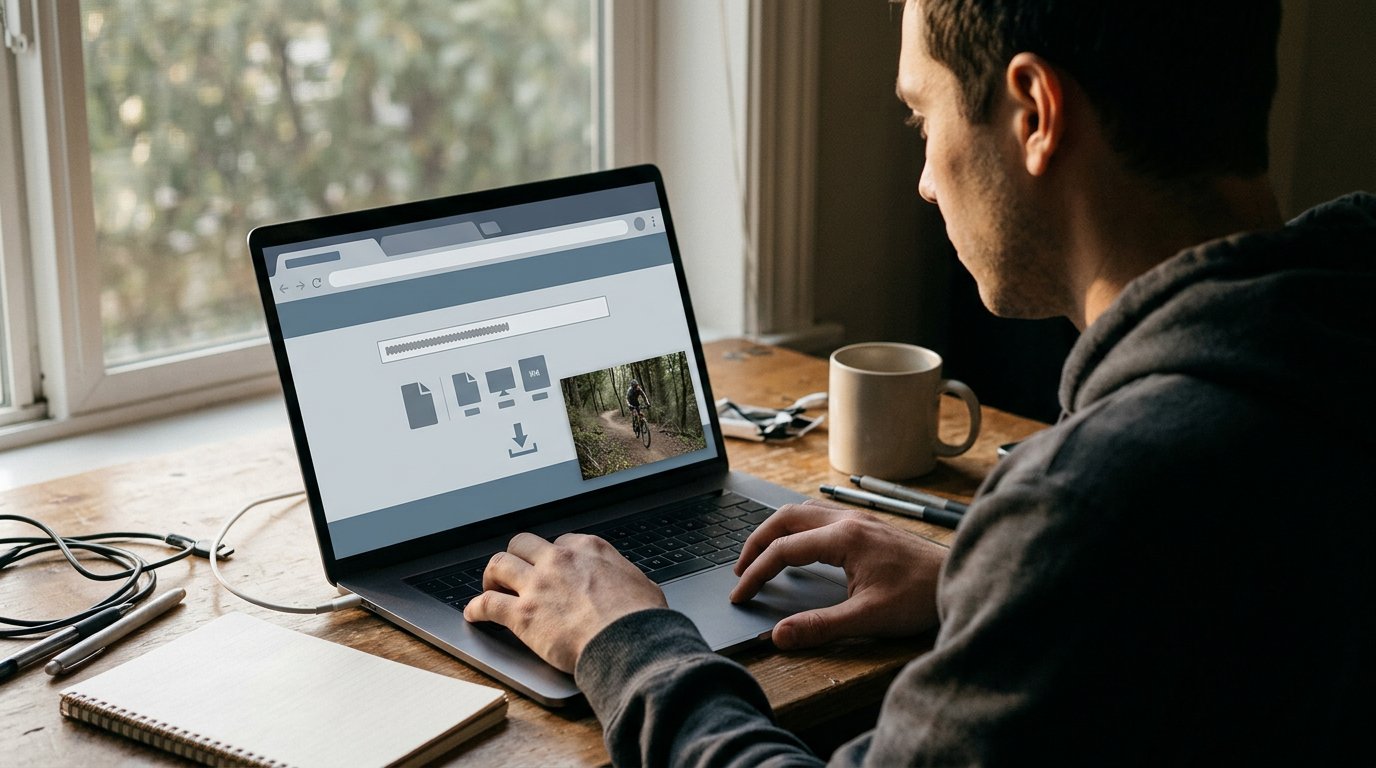

To learn how to save a video as MP4, paste a supported public video link into a downloader, choose MP4 and an available quality, then save the file. The result depends on the source video and its available options.
MP4 is a practical format for sharing, but the right settings depend on your intended use and preferred balance between image detail and file size. This guide covers the conversion steps, format selection, and codec and quality settings.
Key Takeaways
- Choose MP4 in the output format menu before saving, then select an available quality that suits how you’ll use the video.
- Match codec and quality settings to your priorities: more image detail can mean a larger file.
- Follow the export steps for your tool or device, and confirm the saved file uses the MP4 format.
- For supported public video links, ClipCatch.top’s Free Video Downloader can provide an MP4 download option when available.
How do I convert a video to MP4 for free?
Use a converter that accepts your source file, lets you select MP4, and saves the converted copy. Choose a destination folder before starting, such as Downloads or a project folder, so you can find the new file afterward.
The MP4 format is associated with the ISO/IEC 14496 standard, according to the International Organization for Standardization (ISO). The standard identifies the format; the conversion tool handles the file and its settings.
- Open a converter and add the video file you’re authorized to use.
- Select MP4 as the output format. Choose a resolution the source can support.
- Set the destination, such as Desktop, Downloads, or an external drive.
- Start conversion and wait for the tool to finish processing the file.
- Open the saved MP4 and confirm it plays before sharing or moving it.
In VLC, open Media, select Convert/Save, and add your source video. Choose Convert, select an MP4-compatible profile, and set the destination filename with an .mp4 extension. Start the conversion, then play the result in VLC to check the picture and sound.
On a Mac, use a converter that lets you choose MP4 and save the converted file. Select a destination in Finder and give the output file an .mp4 extension. Keep the original file until you’ve checked the converted copy.
On a phone or tablet, open a converter in a Mobile browser, select an available MP4 option, and save the result to the device. Resolution changes can reduce detail: converting a low-resolution source to a higher setting won’t add missing image information.
Is it legal to download or convert online videos to MP4? Only download or convert videos when you have permission and comply with applicable rules. A Public video link provides access, but doesn’t itself grant permission to download or share the video.
Selecting MP4 as the output format
Choose MP4 in the converter’s output menu before you start processing. The menu may list several formats, so select the one you need rather than relying on the source file’s extension. MP4 is a suitable format for sharing videos across online platforms.
Use the file’s intended purpose to guide your choice. For example, select MP4 for a shareable video file, or choose an audio format if you only need sound. Some tools also list WebM, so read each option before exporting.
- Open the output format menu in your converter.
- Select MP4, not MP3 or WebM, when you need video.
- Choose an available resolution and quality setting.
On a desktop editor, the setting may appear under “Export,” “Save as,” or “Format.” In VLC, choose a conversion profile that outputs MP4. Menu labels differ between apps, but the format choice controls the type of file the converter creates.
Check the destination filename before you export. An .mp4 ending can help you identify the saved file, but changing an extension alone doesn’t convert the video. Let the converter process the file, then open the result to confirm it plays as expected.
When preparing a video to send, balance playback needs with file size. Higher resolution preserves more detail but creates a larger file, while a lower resolution can make it smaller. Keep the original in case you need to export another version.
If you’re working from a supported public video link, explore available MP4 download options when selecting a format.
Video codecs and quality settings
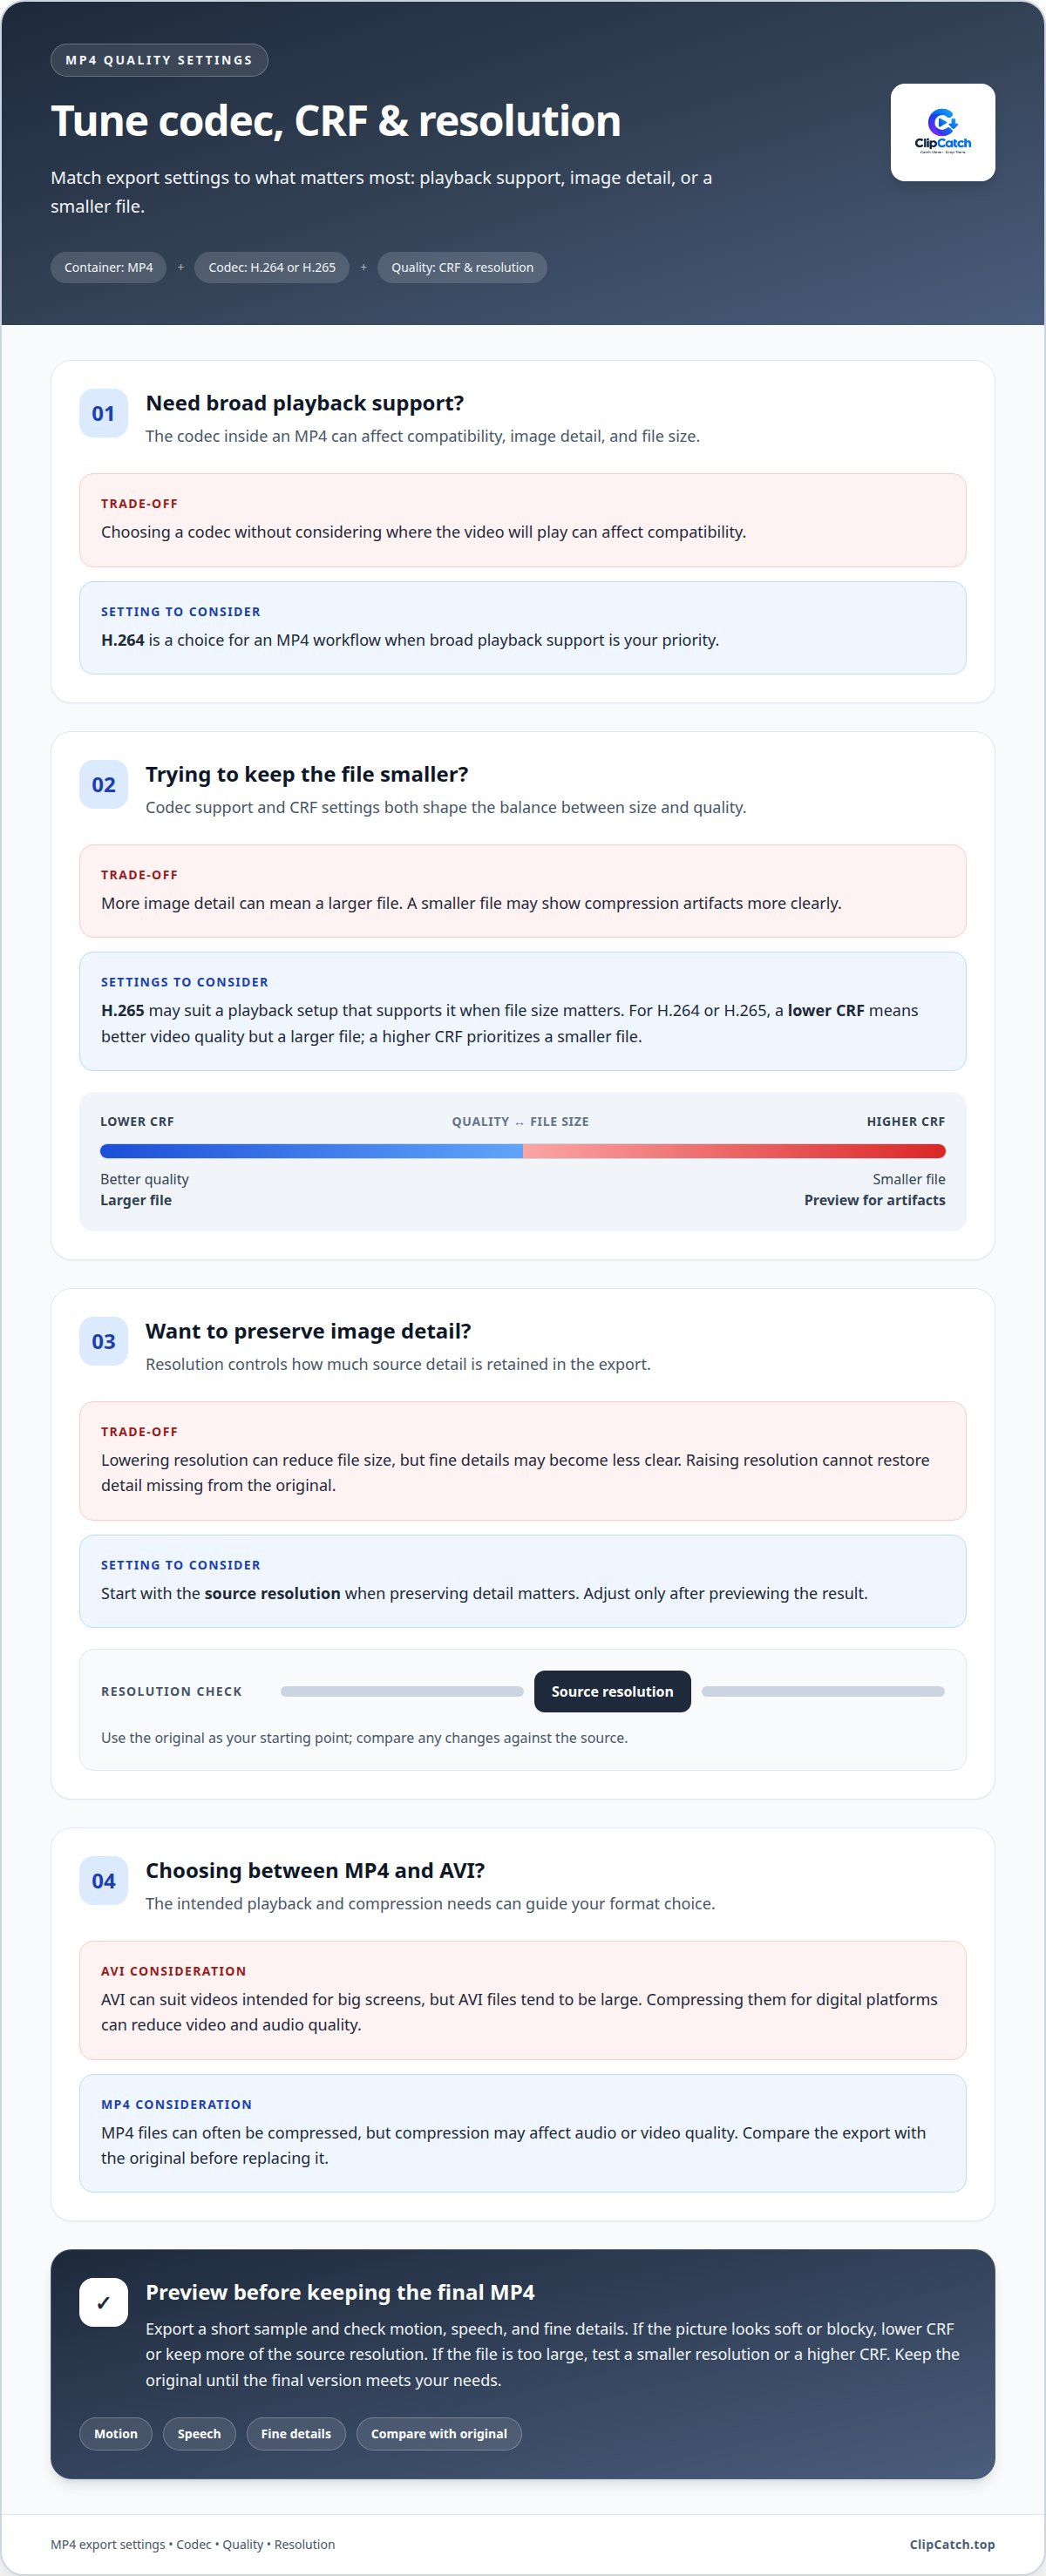
A video format such as MP4 is a container; a codec compresses the video or audio inside it. MPEG-4 was developed by the Moving Picture Experts Group. H.264 and H.265 are codecs you may see in an export menu. The selected codec affects compatibility, image detail, and file size.
For H.264 or H.265 encoding, a lower CRF value produces better video quality but larger files. Raise the value to prioritize a smaller file, then preview the result. Fast movement, fine text, and dark scenes can make compression artifacts easier to spot.
Resolution affects image detail. Keep the source resolution when preserving detail matters. Lowering it can reduce file size, though it may make fine details less clear. Increasing resolution cannot restore detail that was not in the original video.
- Choose H.264 for an MP4 workflow when broad playback support is your priority.
- Consider H.265 when your playback setup supports it and file size matters.
- Use the source resolution as a starting point, then adjust after previewing.
AVI can suit videos intended for big screens, but AVI files tend to be large. Compressing them for digital platforms can reduce video and audio quality. MP4 files can often be compressed, but the result may affect audio or video quality. Compare the export with the original before replacing it.
To set quality, open the converter’s codec or encoding controls. Select H.264 or H.265, adjust CRF if available, and export a short sample. Check motion, speech, and fine details in the resulting MP4. If playback looks soft or blocky, lower CRF or keep more of the source resolution. If the file is too large, test a smaller resolution or a higher CRF. Keep the original until the final version meets your needs.
How do I export or save a video as an MP4 file?
Export settings control the file you create from an edited project. In an editor such as iMovie or another video app, open the project and choose Export, Share, or Save. Select MP4 if the menu offers a format choice. Keep the project file separate from the exported video so you can edit it later.
- Open the finished project and select its export command.
- Choose MP4 as the output format, not an audio-only option.
- Pick a destination folder you can find, such as Downloads.
- Enter a clear filename, then start the export.
- Open the saved file and confirm it plays with sound.
On a Mac, Finder helps you locate the output folder and rename the file. Keep the .mp4 extension in the filename, but remember that renaming alone doesn’t convert a video. The export process must create the MP4 file. If the editor provides a quality menu, choose settings based on the intended playback and available storage.
On a phone, tap the app’s Share or Export control, then save the resulting file to device storage. A mobile browser may instead display a download prompt. Choose a folder you can find later, such as Downloads or Files, and let the save finish before closing the page.
If the export fails, check that the destination is writable and has enough available storage. If playback fails, export again with a different MP4 profile, then test the new file in a media player. For a supported public video link, save the video as an MP4 file when that option is available.
ClipCatch.top: Free Video Downloader
ClipCatch.top’s Free Video Downloader is a practical next step when you have a supported public video link and want an MP4 copy. Use it when the source is accessible and an available download option suits your needs. It offers a browser-based way to save eligible videos, rather than exporting a local editing project.
Copy the video’s public link, open ClipCatch.top in a modern browser, and paste the link into the downloader’s input field. Review the available format and quality options before saving. Options can vary depending on the source video and its settings.
- Copy the link for a public video you’re permitted to save.
- Paste it into the downloader and select MP4 if it’s offered.
- Choose an available quality, then save the resulting file.
ClipCatch.top supports links from platforms including YouTube, Dailymotion, Bilibili, 9GAG, Bandcamp, Bitchute, Blogger, BuzzFeed, CapCut, Douyin, and ESPN. Support for a platform doesn’t mean every video is available. Use the options shown for the specific link you enter.
Supported formats can include MP4, MP3, and WebM. Video resolutions can reach 4K where available. Choose MP4 for a video file, then select a quality that fits your intended playback. You can start without creating an account, and use the downloader through modern browsers on computers, tablets, and smartphones.
ClipCatch.top says it doesn’t store user data or downloaded files, and doesn’t host videos. A public video link provides access, but it does not grant permission to download or share the video. Save only videos you’re authorized to use. For help using ClipCatch.top’s Free Video Downloader, contact ClipCatch.top.
Make Your Next MP4 Easier to Use
Knowing how to save a video as MP4 gives you a repeatable starting point for building a useful media library. Before your next project, decide how you’ll name and sort finished files. A clear label such as “lecture-notes” or “trip-highlights” helps you find the right clip later, especially when you keep several versions.
Consider who will use the file next and on which device. Choose a descriptive filename, group related clips together, and keep the finished copy separate from any editable project. This makes it easier to share the intended version without sorting through unrelated files.
For a supported public video link, ClipCatch.top’s Free Video Downloader provides an alternative to exporting a local editing project. Paste the link to view the available download options. The source video determines which formats and quality options are available.
ClipCatch.top’s team brings expertise in helping users save supported videos. Contact ClipCatch.top for help with your next supported video.
Frequently Asked Questions
What is an MP4 (MPEG-4) file?
An MP4 file is a media container that can hold video, audio, and related data together. Its familiar .mp4 extension helps you identify the file type, but doesn’t tell you which codec was used inside. For example, two MP4 files may use different video codecs, so playback support and file size can vary.
How do I save a video as MP4 on Windows?
On Windows, open a video converter or editor, import a video you’re authorized to use, and choose MP4 in its export settings. Set a destination folder, such as Videos, and give the output a distinct filename. After export, open the file in a media player. Keep the original until you’ve checked both playback and audio.
How do I save a video as MP4 on iPhone or iPad?
On iPhone or iPad, use a converter that supports your source file, then choose MP4 and save the result to Files if that destination is offered. For an edited clip, use the editing app’s export or share controls. Check the saved file in Files, and play it before sending it through Messages or another app.
How do I save a video as MP4 on Android?
On Android, open a compatible converter or editing app, select the source video, and choose MP4 as the output. Save the export to a folder you can find in Files or your device’s gallery. If you use a Mobile browser, follow its download prompt and check the saved video in your file manager.
How do I preserve video quality and audio when converting to MP4?
Start with the original file and lower its resolution only if you need a smaller export. Choose quality that matches the source, then test a short clip with speech or music. Listen for missing or distorted sound and check whether details look softened. Keep the source unchanged so you can export another version if needed.